
-
×
 Hatsune Miku Vampire Wig
1 × $43.90
Hatsune Miku Vampire Wig
1 × $43.90 -
×
 Overhaul Kai Chisaki Wig
1 × $44.43
Overhaul Kai Chisaki Wig
1 × $44.43 -
×
 All Might Wig
1 × $29.90
All Might Wig
1 × $29.90
Cosplay Photography
Using External Lighting to Enhance Photos
17
May
May
Imagine walking through the bustling streets of Akihabara, Tokyo’s geek paradise, where the vibrant world of anime and cosplay unfolds right before your eyes. Cosplayers are everywhere, posing for photos that capture the essence of their characters. But what makes some photos stand out with that extra pop? It’s all about that external lighting, baby! Let’s dive into the dazzling world of enhancing your cosplay photos with some killer lighting tips.
Illuminate Your Cosplay Universe: Why External Lighting is a Game-Changer
In the world of cosplay photography, good lighting is like the ultimate plot twist in your favorite anime – unexpected, yet completely essential. Here’s why investing in external lighting is worth it:
- Highlight Details: External lighting makes every intricate detail of your cosplay shine—whether it’s the delicate beadwork on your Sakura Matou costume or the metallic sheen on your Gundam suit.
- Enhance Colors: Poor lighting can wash out those painstakingly chosen colors, but a well-placed light can make them burst with anime-esque vibrancy.
- Create Mood: Whether you’re aiming for a dark, brooding look like Tokyo Ghoul or a bright, whimsical vibe like My Neighbor Totoro, external lighting helps set the perfect atmosphere.
Types of External Lighting: Making the Right Choice
Ah, the eternal quest for the perfect light! Fear not, here’s a handy guide to navigating the maze.
Ring Lights: Your Circular Savior
Imagine you’re Naruto, and the ring light is your Rasengan – powerful and precise. These babies provide even lighting, eliminating shadows and making your face glow like an anime protagonist about to deliver an epic monologue.
Pros:
- Great for close-up shots.
- Portable and easy to use.
- Provides soft light that’s easy on the eyes.
Cons:
- Limited reach—ideal mainly for selfies or close-ups.
Softbox Lights: The Smoothing Operator
If your cosplay is more complex, like a Mecha suit or an elaborate princess gown, softbox lights are your best friends. Think of them as gentler, softer light sources that mimic natural sunlight.
Pros:
- Provides soft, diffused lighting.
- Excellent for full-body shots.
- Reduces harsh shadows.
Cons:
- Bulky and less portable.
- Requires more setup time.
LED Panels: The All-Rounder
These versatile lights are like the Swiss Army knives of photography lighting. Whether you’re shooting indoors, outdoors, day, or night, LED panels adapt to your needs.
Pros:
- Extremely versatile.
- Adjustable brightness and color.
- Lightweight and portable.
Cons:
- Can be more expensive.
- Requires power sources or batteries.
Setting Up Your Lighting: Get Ready to Shine
Setting up your external lights might sound as complex as piloting a Gundam, but hold onto your cosplay wigs – we’ve got simple steps to get the perfect setup.
Know Your Angles: The Lighting Triangle
Create a triangle with your subject and your lights. Place your main light (key light) about 45 degrees to one side and slightly above your subject. This is your primary light source. Position a fill light on the opposite side to soften shadows, and use a backlight for depth.
Distance and Height: It’s All About Positioning
- Key Light: Should be the brightest, positioned 45 degrees to the side and above your subject.
- Fill Light: Half the brightness of the key light, filling in shadows.
- Backlight: Positioned behind the subject to create a silhouette or halo effect.
Light Settings: Because Every Cosplayer Needs Customization
- Intensity: Start with medium intensity and adjust based on how dramatic you want your lighting.
- Temperature: Use warmer light for a cozy, intimate scene (think Studio Ghibli), and cooler light for a more somber setting (hello, Death Note).
Fun Lighting Hacks: Because We Love Easter Eggs
Use Household Items for Creative Effects
- CDs and DVDs: Shine a light through these to create rainbow effects—perfect for magical or sci-fi characters.
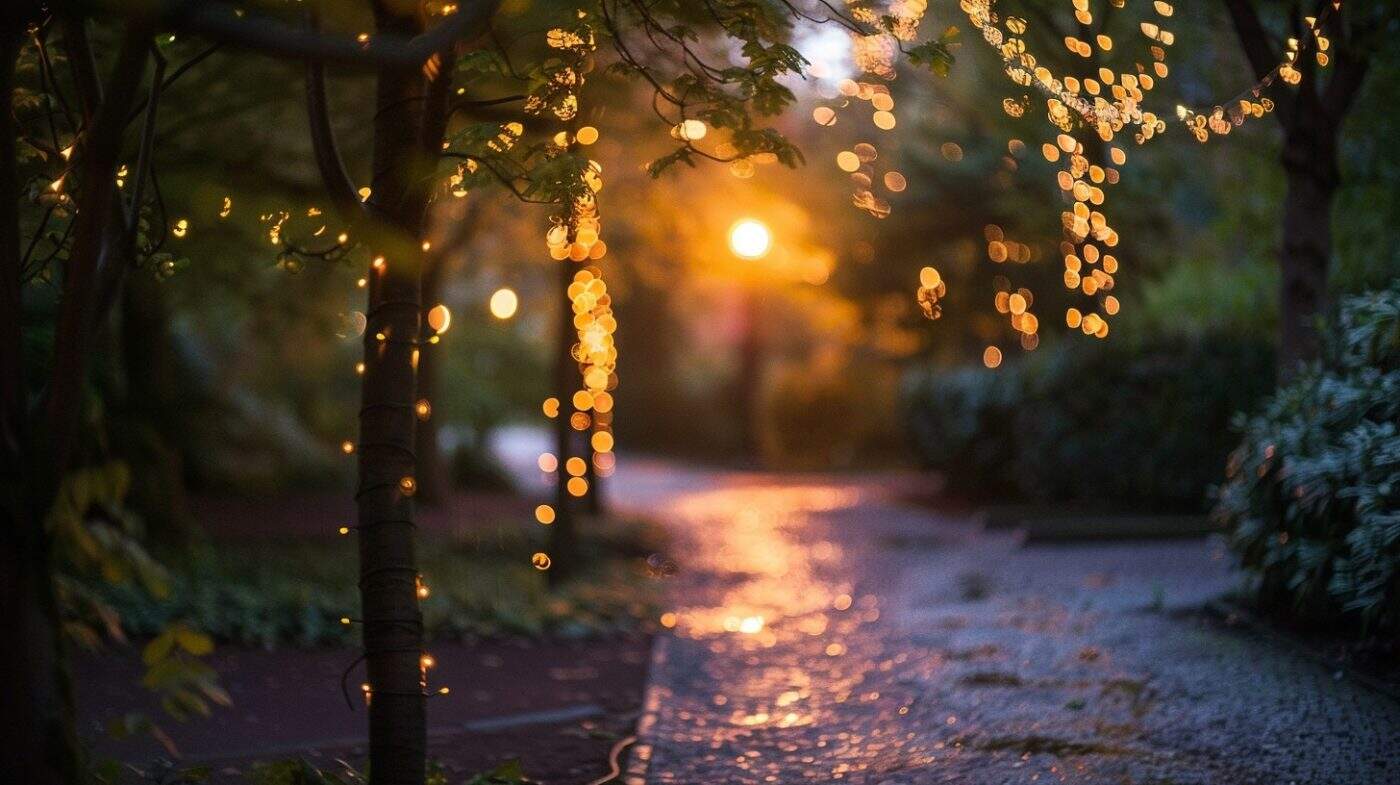
- String Lights: Wrap these around props or in the background for a whimsical, fairy-tale vibe. Think of them as your very own Fireflies from Your Lie in April.
- Colored Gels: Use these to change the light color. Get a blue gel for an icy look or red for a fiery InuYasha-inspired shot.
Experiment with Natural Light
Sometimes, even the best LEDs can’t beat natural sunlight. Use the Golden Hour—the first hour after sunrise or the last hour before sunset—for soft, magical lighting straight out of a fairy tale.
Case Study: Turning Shadows Into Superpowers
Meet Hiroshi, a Tokyo-based cosplayer known for his impeccable Kakashi Hatake renditions. Hiroshi was struggling to capture the essence of his character—strong, mysterious, and agile. By using a simple LED panel with a red gel, Hiroshi created dramatic, shadowy effects that made his photos look like they were ripped straight out of the manga. The right lighting can turn any photo from basic to extraordinary with just a tweak or two!
Conclusion: Go Light The Anime World On Fire!
So there you have it, fellow anime aficionados! External lighting is your secret weapon in capturing the magic and detail of your cosplay like never before. From choosing the right type of light to creating that perfect triangle setup, these tips will make your photos shine with the brilliance of your favorite anime scenes.
Now, grab your lights, strike a pose, and let the world see your cosplay creativity in all its illuminated glory. Happy snapping!